In one of my sewing escapades, I created a pattern for something but realized I hadn't accounted for the seam allowance. Oops. If I had made it as-is, it would have ended up too small.
When joining two fabrics together, that important extra allowance of fabric (generally 1/2" all around), prevents your creation from falling apart at the seams. Literally. As well as preventing fraying from occurring right on the joining seam.
If you forget to add seam allowance and realize it after you've cut out your fabric? Move your breakables and tell your husband to exit quickly, because you'll want to punch something.
First let me tell you about my go-to cutting tools.
I love my Fiskars Rotary Cutting Set
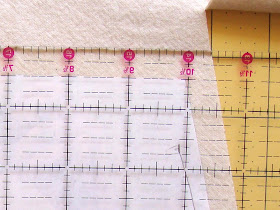
The Acrylic ruler is what I use to add and cut my fabric with seam allowance when my pattern doesn't have it. It has little measurement lines that help you see exactly where 1/2 inch is, so you can add it easily before cutting. And it's the perfect straight edge.
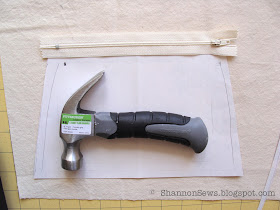
For something straight, it was simple to add 1/2" and simply cut with the acrylic ruler in place. The white paper is my pattern without seam allowance. With the ruler in place, I added 1/2" on each cutting point.
For adding seam allowance around a curve, you can use a regular ruler, or cloth measuring tape. At the 1/2" mark, go slowly around the curve, making marks directly on your fabric every so often to keep it even, with a disappearing ink pen (this photo is of me adding it to a pattern, but if you've already cut your pattern, write directly on your fabric).
*disappearing ink pens allow you to write on fabric and then blot off color with a damp cloth. They come in very handy!
Never miss a post! Subscribe to ShannonSews
Like on facebook.com/SSorensenDesigns
Follow @ShannonSews1 on Twitter
Subscribe to youtube.com/ShannonSews


