Friday, September 28, 2012

Add Seam Allowance {when you don't have a pattern or your pattern doesn't have it}

How to add seam allowance to a sewing project if you don't have a pattern or the pattern doesn't have it
I have never sewn from a pre-made pattern before. I don't know whether I'm just stubborn, intrigued by a challenge, or lazy (maybe a bit of all 3) but I've always just tried to envision how something would fit together, and then make it.

In one of my sewing escapades, I created a pattern for something but realized I hadn't accounted for the seam allowance. Oops. If I had made it as-is, it would have ended up too small.

When joining two fabrics together, that important extra allowance of fabric (generally 1/2" all around), prevents your creation from falling apart at the seams. Literally. As well as preventing fraying from occurring right on the joining seam.

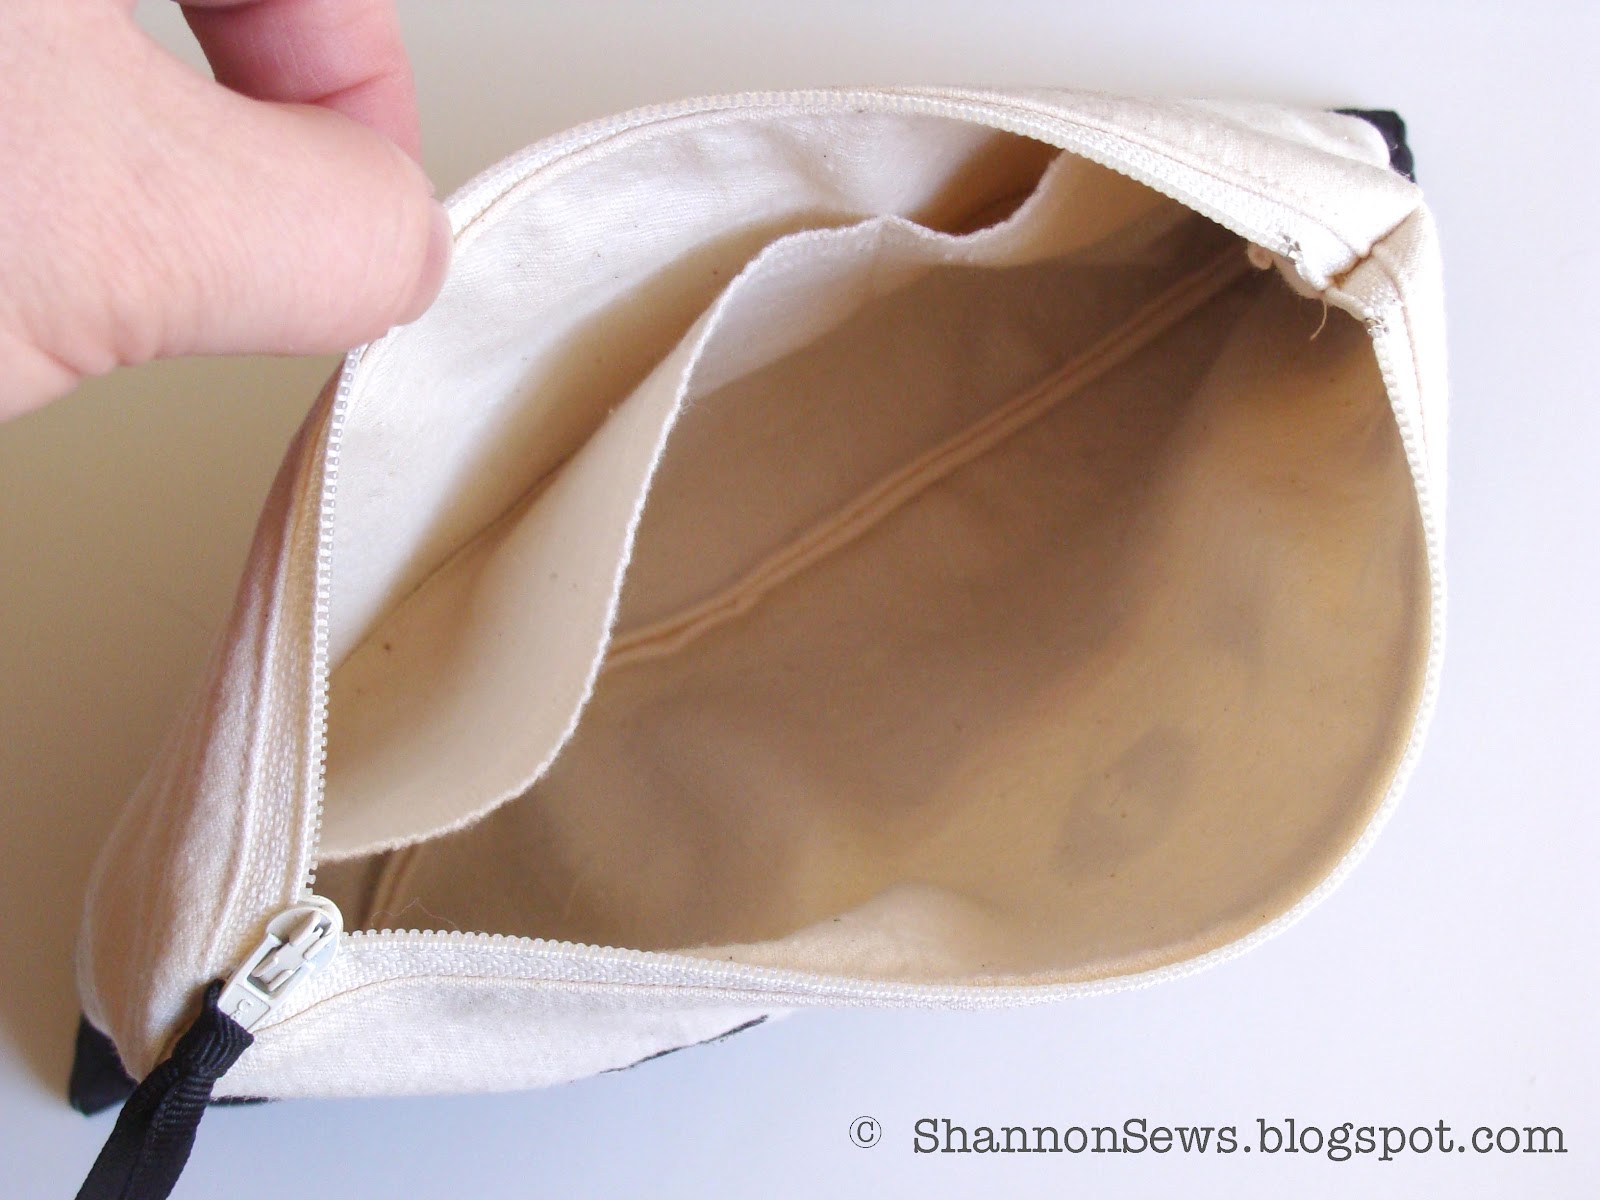
If you forget to add seam allowance and realize it after you've cut out your fabric? Move your breakables and tell your husband to exit quickly, because you'll want to punch something.

If you forget to add seam allowance to your pattern before you've cut out your fabric? No problem! Everybody's safe! I have an easy solution.

First let me tell you about my go-to cutting tools.

I love my Fiskars Rotary Cutting Set. It comes with a self-healing mat, rotary cutter and acrylic ruler. If you don't have these three things? Get them. I use them all. the. time.
Fiskars Rotary Cutting Set is essential for any seamstress and comes with a self-healing mat, rotary cutter, and acrylic ruler
The Acrylic ruler is what I use to add and cut my fabric with seam allowance when my pattern doesn't have it. It has little measurement lines that help you see exactly where 1/2 inch is, so you can add it easily before cutting. And it's the perfect straight edge.

Acrylic rulers help measure seam allowance and can be used as a precise straight edge

For something straight, it was simple to add 1/2" and simply cut with the acrylic ruler in place. The white paper is my pattern without seam allowance. With the ruler in place, I added 1/2" on each cutting point.

Place acrylic ruler on top of fabric, adding seam allowance of 1/2 inch to all sides

For adding seam allowance around a curve, you can use a regular ruler, or cloth measuring tape. At the 1/2" mark, go slowly around the curve, making marks directly on your fabric every so often to keep it even, with a disappearing ink pen (this photo is of me adding it to a pattern, but if you've already cut your pattern, write directly on your fabric).

*disappearing ink pens allow you to write on fabric and then blot off color with a damp cloth. They come in very handy!

Add seam allowance to a curve by using a ruler at 1/2 inch and mark spots with pencil


Don't fret if you made your own pattern or bought a pattern that doesn't have seam allowance! It's easy to fix BEFORE you cut...or husbands be warned. :)


Never miss a post! Subscribe to ShannonSews
Like on facebook.com/SSorensenDesigns
Follow @ShannonSews1 on Twitter
Subscribe to youtube.com/ShannonSews

Wednesday, September 26, 2012

Thrifted Table Makeover

Makeover a thrifted table to look like newI've been looking for a little table to put next to the couch for many moons. Something small and simple. It's way too easy to drop mail and keys on the coffee table and in three seconds it looks like a big old mess.

As luck would have it, my manager was going to give away this little red table from our after-school program room, so he said I could take it.

Free furniture! And just the kind of table for that little empty spot next to the couch. It would be perfect! But not red.

Eeek gad! That meant another painting project. After updating my dressers and desk I thought I was done with the painting projects already. Not sooo fast.


So off to Home Depot I went for a can of moca brown spray paint.  I already had sandpaper and a tarp from my other furniture makeovers, so I was all set.

After a little elbow grease with the sanding block and a shake, shake, shake of the moca brown spray paint, it was as good as new.

Spray paint an old table to look like new

It took a little finagling to spray the whole thing inside and out (I took the drawer out, knob off and was down on my knees in strange positions as I sprayed them all out on the confined space of my small deck), but was totally worth it.

Fix up a thrifted table with spray paint

I love the dark brown color. I thought about distressing it, but decided just to keep it clean and simple. It now sits perfectly by the side of the couch. And for only the cost of a can of spray paint? Fabulous!

Fixing up thrifted furniture is a cheap alternative to buying new

Looking for new furniture for your house? Before you start shelling out the big bucks, check out the pieces at your local thrift stores. Fixing up thrifted furniture is a cheap alternative to buying new and as you can see, with a little love and spray paint? It can look as good as new!


Never miss a post! Subscribe to ShannonSews
Like on facebook.com/SSorensenDesigns
Follow @ShannonSews1 on Twitter
Subscribe to youtube.com/ShannonSews

Monday, September 24, 2012

Low cost {Big Impact} Gift Idea: Memory Book

Great gift idea on a budget to compile thoughts, memories and advice for someone you love My sister celebrated a big number birthday this year - the big 40 - and was feeling a little less than celebratory about it.

Age has a way of creeping up on you and kicking you in the shorts. I knew just how she felt. I'd been there not long ago myself.

What to give her? No little gift would do. Not for this birthday. I wanted to give her something she would treasure. Something that would lift her up. Something that would make her feel the strength of 40 years, instead of feeling worse for wear from them.

No small order, right??

With finances tight, I didn't have a lot of options so I had to think outside the box. But you know what they say? Some of the best gifts are the ones money can't buy, or in my case, just enough money to buy a memory book to store them in.
Write your memories, advice, what you love about a person and put it in a book for them

My goal: to compile a little book of thoughts for my sister from each member of our family. I decided to help guide each response by giving it some structure.

Structure the format with pre-set questions and/or statements to unify the book

I had each person share the top 3 things they love about her
A favorite memory with her or about her
and advice for the next 40 years

Great gift idea if you're on a budget to compile memories and thoughts of someone you love

It may just be that I have the most wonderful family in the world, and yes, I'm a little biased, but their words were so touching and sincere. Who wouldn't want a book about how much people love you? 

♥ I hope this memory book will be something she'll cherish for years to come.
♥ I hope it brings her comfort when she's feeling down.
♥ I hope it lifts her up when she's not feeling good about herself.
♥ I hope it gives her a fresh perspective when she's lost her way.
♥ I hope it reminds her how much she is loved.
♥ I hope it gives her peace in her past and present and hope in her future.

I don't think a flashy new car or dream vacation can give you that. But it can't hurt, can it? hahaha
For now, I hope it's just what she needed to stare 40 straight in the face and laugh. xoxo


Never miss a post! Subscribe to ShannonSews
Like on facebook.com/SSorensenDesigns
Follow @ShannonSews1 on Twitter
Subscribe to youtube.com/ShannonSews

Friday, September 21, 2012

Add Slip Pockets to a pouch, tote or purse

Slip pockets: Tool Pouch

 I love little "extras" that keep things organized.

Adding slip pockets to the lining of totes, purses or pouches is a great way to keep the quick reach items handy, while keeping them separated from the black hole (aka the rest of your purse "stuff")....I know it's in here somewhere...
Adding slip pockets to my Ruffled Tote was the perfect way to separate my cell phone, keys and pens from the rest of my useless clutter necessities. (I used Method 1 for this purse)

Slip Pockets in Ruffled Tote on one side, zippered pocket on the other

{2 methods}: Adding Slip Pockets to a Pouch, Tote, Purse or Bag


There are a couple useful methods I've used to add slip pockets to purses or pouches. You can also add them to existing totes, if you don't mind stitching showing on the outside.

Method 1: Top Stitch

For this method, cut the fabric for your pocket double the length, fold it over (right sides together) and sew it together, leaving an opening to turn it.

It will create sort of a tube of fabric

With your "tube" right side out, the fold at the top of your slip pocket, and the open section at the bottom -  tucked together, Top Stitch your slip pocket to your lining, leaving the top open for your pockets. Add separating lines by stitching right down the pocket to create as many sections as you need. 

add slip pockets to purses, totes or pouches by folding fabric in half, sewing them together and top stitching to lining
Slip Pocket added to Ruffled Tote purse lining (Top Stitch Method)

Method 2: Flip Up

I used this method for my Tool Pouch. I only used one layer of fabric, but you can sew a "tube" as shown above in Method 1 and follow this to add it to your lining.

Take your tube or one layer of fabric, the length of your slip pocket and lay it upside down, right sides together. Fold in the side seams and stitch just along the bottom.

Add easy slip pockets to lining with this easy method


I also added a small zig-zag stitch to secure the fabric from fraying.


Now flip up your fabric


Pin the sides down (with seams folded under). 


Top stitch just the side seams to secure
Add separating lines through the pocket and lining.


Adding slip pockets to your tote, purse or pouch really is one of the easiest pockets you can add for a bit more organization. Try it, you'll like it! I promise!


Never miss a post! Subscribe to ShannonSews
Like on facebook.com/SSorensenDesigns
Follow @ShannonSews1 on Twitter
Subscribe to youtube.com/ShannonSews
Blogging tips