A while back, my husband and I were browsing through
Ross Dress for Less and I came upon this clearance polyester tablecloth for $2.00. But I didn't really see it as a tablecloth, I saw it as a giant piece of fabric for only $2.00. So I couldn't help myself.
I have been wanting another apron, so I decided to re-purpose this brand new tablecloth into a brand new apron.
So here you see it in it's first life:

And here it is in it's new life:

Turned out pretty cute huh? I think so. I enjoy wearing it because it's cute and feminine, but also because the fabric is really a tablecloth, so I don't feel bad about spilling or wiping food on it while I cook!
Here are a few tips on turning any tablecloth (a.k.a giant piece of fabric) into a snazzy apron:
First I used my existing apron as a guide:
I folded it in half, pinned it down and cut around it, adding a little room for hemming
And then I cut...and yes, I added a little more which was totally unnecessary. What can I say? I'm paranoid.

And here is what I had after cutting out my pattern. The hem at the top was from the existing tablecloth hem.

Next, I hemmed the bottom and sides. Knowing what I know now, I may have waited to do the hemming because I had to cut the bottom off later (after deciding to add a ruffle). Either way, the ruffle had to be hemmed, so either now or later.

And here it is with sides and bottom hemmed (minus the curves)

I pulled out the old apron again and measured how long the tie was from end to end (including up around the neck).

And created my own strip based on its measurements. I apologize, I didn't write any of the measurements down. Hopefully you'll have an existing apron to measure.

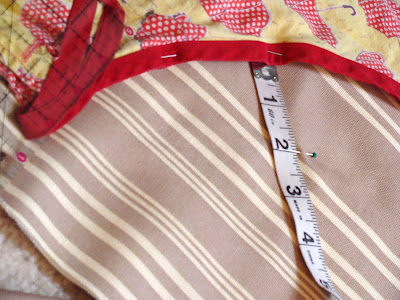
I pinned it down, with the strip centered at the middle of the neck band

As you can see, I had extra fabric to remove. After cutting it, I pinned the strip all the way around - right sides down.


Now to finish the rest of the strip

I folded it together and top stitched so no raw edges were showing


I cut a piece of fabric for the bow (sorry I don't remember the measurements). It was big enough to be the right size folded in half.

I folded the fabric in half, right sides together, and stitched down the center.
Next, turned it right side out and made sure the seam was centered on the back.
I pushed the side pieces under and top stitched it closed.
For the small center part of the bow I did the same as above, but instead of pushing the sides in, I just zig-zagged them closed because I knew the seam wouldn't show in the back.

Before sewing on the bow, I put on the apron and measured where I wanted to bow to sit. Centered, and just under the bust line.
Then I put the bow together -wrapping the smaller center part of the bow around the center of the bigger piece and pinned the bow on the apron.
I stitched right on top of the bow so it wouldn't move around - down the center fabric lines and along the bow edges.


At this point it just didn't feel right to have a bow without ruffles, call me crazy. So I folded the apron in half, pinned it for security, and cut a curve off the bottom I had previously hemmed.

Then I cut two equal strips for ruffles - one from the bottom of the apron I just cut and another matching strip which I cut and hemmed sides and bottom.

I created ruffles by sewing a straight stitch across the raw edge of the ruffle strip with the widest stitch (mine is 5) and on the loosest tension so I could pull it myself (my machine only seems to be able to create ruffles on knit material at the highest tension by itself).

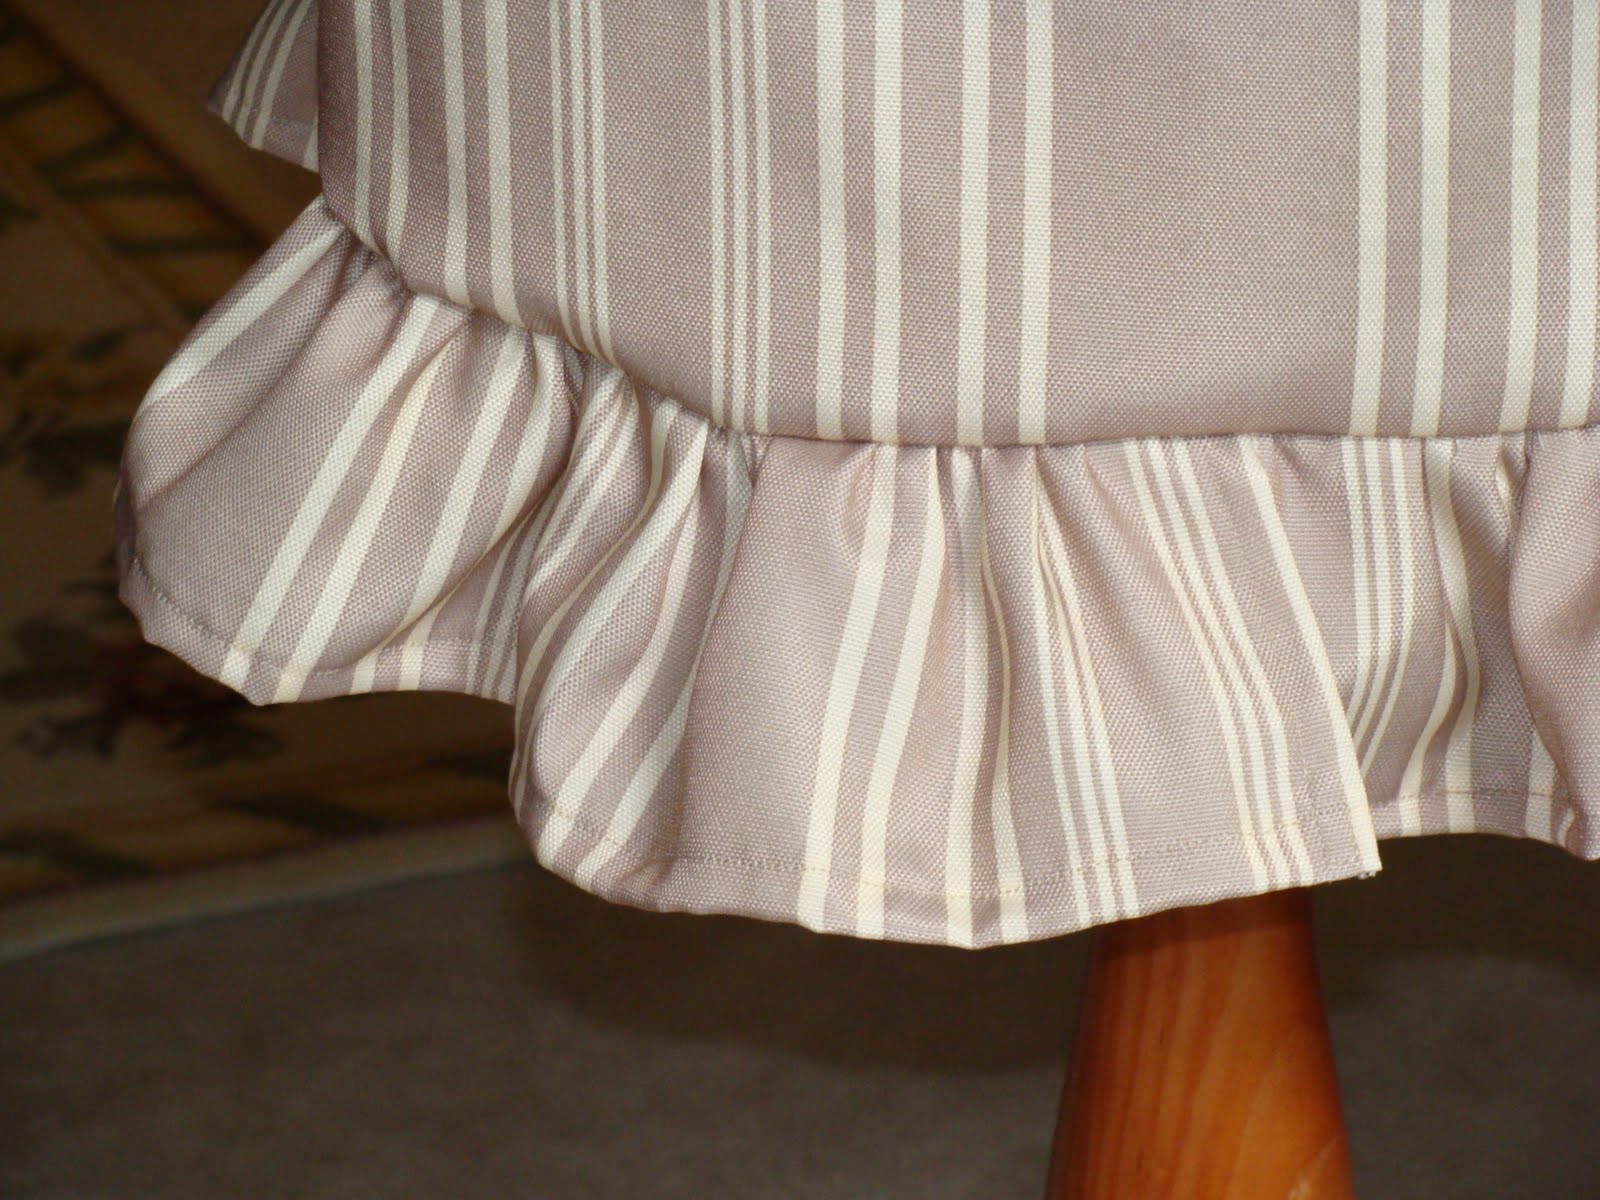
After ruffling, I pinned the raw edges together (right sides together)

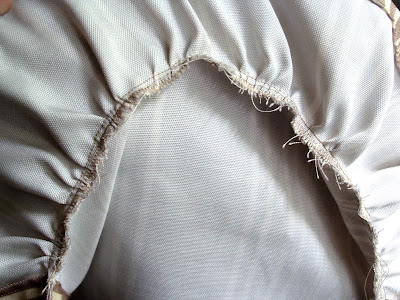
After sewing the ruffles on, I used a zigzag stitch to secure the raw edges underneath (since I don't have a surger).
The ruffles layed nicely.

And there you have it.
I'm SURE there are apron tutorials and even patterns much easier to follow. That day I was flying by the seat of my pants. Up a creek without a pattern, one might say. But I like the end result and for a $2.00 polyester table cloth, it was good enough for me!
Linked to:


 I wanted to make the neck line a little different, so I ruffled both edges of the top strip. I got the idea from