Tuesday, December 7, 2010

Minky's aren't just for babies

Every time I walk by soft fabric that is used for baby blankets, I have to stop and take a touch. They are so soft. I'm always tempted to buy a yard or two just to have some for myself. But I never buy any because #1 it's expensive, and #2 I don't have any babies so it seems ridiculous.

However, several weeks ago as I was browsing the 50% off remnant bin at JoAnn's, lo and behold, there was some milky cream Minky Dot Chenille. My favorite. I had to touch it. And then I had to have it, justifying that all things soft and cuddly aren't just for babies and it was way cheaper than usual, being a random piece off the end of a bolt.

But I didn't stop there. I had to feel other minky remnants and walked away with another piece just as soft and creamy as the chenille.

The silky cream colored satin fabric I found a few weeks before went perfectly on the back.

Blanket #1 minky dot chenille


Blanket #2 minky diamond


And although they are odd sizes (due to being remnants), and the mitered corners are a little less than perfect (these being my first blankets and all), they are dreamy, soft and snuggly.

Who says the snuggly stuff is just for babies?

Monday, December 6, 2010

Baby bibs and burp cloths: make your own

I love to browse the endless rows of snuggle flannel, showcasing such a variety of patterns and colors. I scouted out some of my favorites and made a few baby bibs with coordinating burp cloths for family and friends.

For girls

For the most recent set, I used coordinating snuggle flannel on the front and coordinating terry cloth on the back. Plus a little satin ribbon accent and velcro closure.

This bib pattern was based on Homemade by Jill's bib tutorial (w/ free bib template) and think it's for babies up to 6 months or so. *Please note, these patterns are only for personal use. I use my own pattern for selling bibs in my shop.

For the burp cloth, I just matched the size of a cloth diaper.


I love the modern flair of the patterns and colors.

About 9 months ago, in addition to making a smaller bib from Jill's pattern, I made this medium sized bib for my sis-in-law (sorry for the poor photos). I found this tutorial (w/ free bib pattern template) on Happy Things. Instead of using a terry cloth back for this one, I made it reversible, using another snuggle flannel material, satin ribbon and ricrac accent.


I added two coordinating burp cloths to her set. These burp cloths were based on a burp cloth tutorial by SewSheSews, using Gerber cloth diapers and snuggle flannel. She stated from experience that this was the perfect combination due to the super absorbency and softness.

In a nutshell, you sew flannel right onto the diaper, turn it right side out and top stitch. For stability, stitch to horizontal lines down the front (dividing it into 3rds). Absorbent, soft and pretty.


My only question about these burp cloths, is whether they are too bulky and thick? I know no one needs to add more bulk to an already overflowing diaper bag. I need a mother's opinion...

This little pink number was just a little bonus bib. I had just begun ruffling everything in sight and wanted to make something pretty. And although it's cute and girly, it's pretty small and is make out of jersey material, so not very absorbent. Maybe it will just be a keepsake.


And we can't forget little baby boys. Lately, in my circle, it seems they've been outnumbered ...although my sister is due to find out the gender of her baby within a month or so...maybe I won't store the baby blue just yet.


Thank you to Homemade by Jill, Happy Things, and SewSheSews for sharing their tutorials and templates!

Make a small shirt bigger

Have shirts that no longer fit? Don't throw/give them away just yet. This idea for making small shirts fit again may just work for you.

I have a black "under" shirt that shrunk, and even thought it was bought to wear under things, it wasn't even comfortable enough to do that, since breathing and moving one's arms are important.

I got the idea to add side panels to the shirt by googling something like "how to make a small shirt bigger" or "how to fix a shirt that shrunk"....and found someone's response on Craftster.org.

Since it was as simple as adding a piece of fabric to each side, I decided I would give her idea a try.

This is how it started:


I cut up another black t-shirt to add as the panel. I guessed on how much width to add - I think it may have been 3-4 inches per side including seam allowance. It depends on how much wider you want it.
Next, I sliced open the shirt (sounds much more gorey than it was)

I took the shirt off the dress form, turned it inside out and pinned and sewed the panel pieces to each side.

Here's the shirt sewn together, still inside out so you can see how the panels fit
Here's the completed shirt (sorry the black is hard to see) but you can tell how much looser it hangs on the dress form.

It worked perfectly. Now my shrunken undershirt fits. And it doesn't matter that the blacks are slightly off because it's never worn on the outside.

The woman on Craftster recommend adding panels of contrasting fabric to each side. Just a thought.

Your favorite shirts may not be headed to the thrift store after all!

*See my 2nd tutorial on making a small white shirt bigger


Linked to:


giveaways

Refashioned with ruffles: long-sleeved shirt

I still love ruffles. I'm secretly afraid that one day I'll wake up and realize they are suddenly out of fashion, but until that time I'll continue to ruffle.

I wanted something more for this ordinary white long sleeved tshirt:

So I cut up a cream t-shirt I already had, into strips, and ruffled away.

This is how it turned out:
I wanted to make the neck line a little different, so I ruffled both edges of the top strip. I got the idea from MadebyLex.

I like the cascading ruffles because it draws the eye down, which breaks up the bust line of a plain long sleeved shirt.

Refashion with sequins

I love sequins. I can't deny it.

And after being so happy with the way my short-sleeved black sequin t-shirt refashion turned out, I knew there was another sequin shirt in my future.

So I pulled out the remainder of a sequin scarf I bought on clearance at Kohls,


cut off two more pieces and sewed them on horizontally.

The ordinary long sleeved black shirt before ...


And after a little sequin magic:


I love how it turned out.


How many times is it okay to mention the word sequins in a post?
I think I may have set a new record.

Linked to:


Creations by Kara


Monday, October 11, 2010

Re-purposing: tablecloth to an apron

A while back, my husband and I were browsing through Ross Dress for Less and I came upon this clearance polyester tablecloth for $2.00. But I didn't really see it as a tablecloth, I saw it as a giant piece of fabric for only $2.00. So I couldn't help myself.

I have been wanting another apron, so I decided to re-purpose this brand new tablecloth into a brand new apron.

So here you see it in it's first life:

And here it is in it's new life:
Turned out pretty cute huh? I think so. I enjoy wearing it because it's cute and feminine, but also because the fabric is really a tablecloth, so I don't feel bad about spilling or wiping food on it while I cook!

Here are a few tips on turning any tablecloth (a.k.a giant piece of fabric) into a snazzy apron:

First I used my existing apron as a guide:

I folded it in half, pinned it down and cut around it, adding a little room for hemming
For the curves, I measured out about 2 inches from the original (which may have been a little excessive, but I didn't want to risk making it too small).
And then I cut...and yes, I added a little more which was totally unnecessary. What can I say? I'm paranoid.

And here is what I had after cutting out my pattern. The hem at the top was from the existing tablecloth hem.
Next, I hemmed the bottom and sides. Knowing what I know now, I may have waited to do the hemming because I had to cut the bottom off later (after deciding to add a ruffle). Either way, the ruffle had to be hemmed, so either now or later.
And here it is with sides and bottom hemmed (minus the curves)
I pulled out the old apron again and measured how long the tie was from end to end (including up around the neck).


And created my own strip based on its measurements. I apologize, I didn't write any of the measurements down. Hopefully you'll have an existing apron to measure.
I pinned it down, with the strip centered at the middle of the neck band
As you can see, I had extra fabric to remove. After cutting it, I pinned the strip all the way around - right sides down.
Now to finish the rest of the strip
I folded it together and top stitched so no raw edges were showing

I cut a piece of fabric for the bow (sorry I don't remember the measurements). It was big enough to be the right size folded in half.


I folded the fabric in half, right sides together, and stitched down the center.
Next, turned it right side out and made sure the seam was centered on the back.
I pushed the side pieces under and top stitched it closed.

For the small center part of the bow I did the same as above, but instead of pushing the sides in, I just zig-zagged them closed because I knew the seam wouldn't show in the back.
Before sewing on the bow, I put on the apron and measured where I wanted to bow to sit. Centered, and just under the bust line.

Then I put the bow together -wrapping the smaller center part of the bow around the center of the bigger piece and pinned the bow on the apron.

I stitched right on top of the bow so it wouldn't move around - down the center fabric lines and along the bow edges.

At this point it just didn't feel right to have a bow without ruffles, call me crazy. So I folded the apron in half, pinned it for security, and cut a curve off the bottom I had previously hemmed.

Then I cut two equal strips for ruffles - one from the bottom of the apron I just cut and another matching strip which I cut and hemmed sides and bottom.
I created ruffles by sewing a straight stitch across the raw edge of the ruffle strip with the widest stitch (mine is 5) and on the loosest tension so I could pull it myself (my machine only seems to be able to create ruffles on knit material at the highest tension by itself).
After ruffling, I pinned the raw edges together (right sides together)
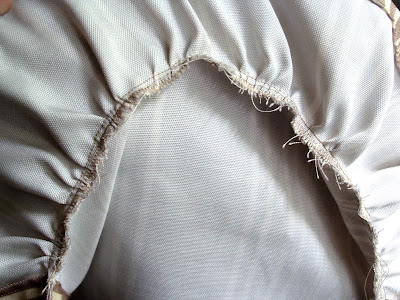
After sewing the ruffles on, I used a zigzag stitch to secure the raw edges underneath (since I don't have a surger).
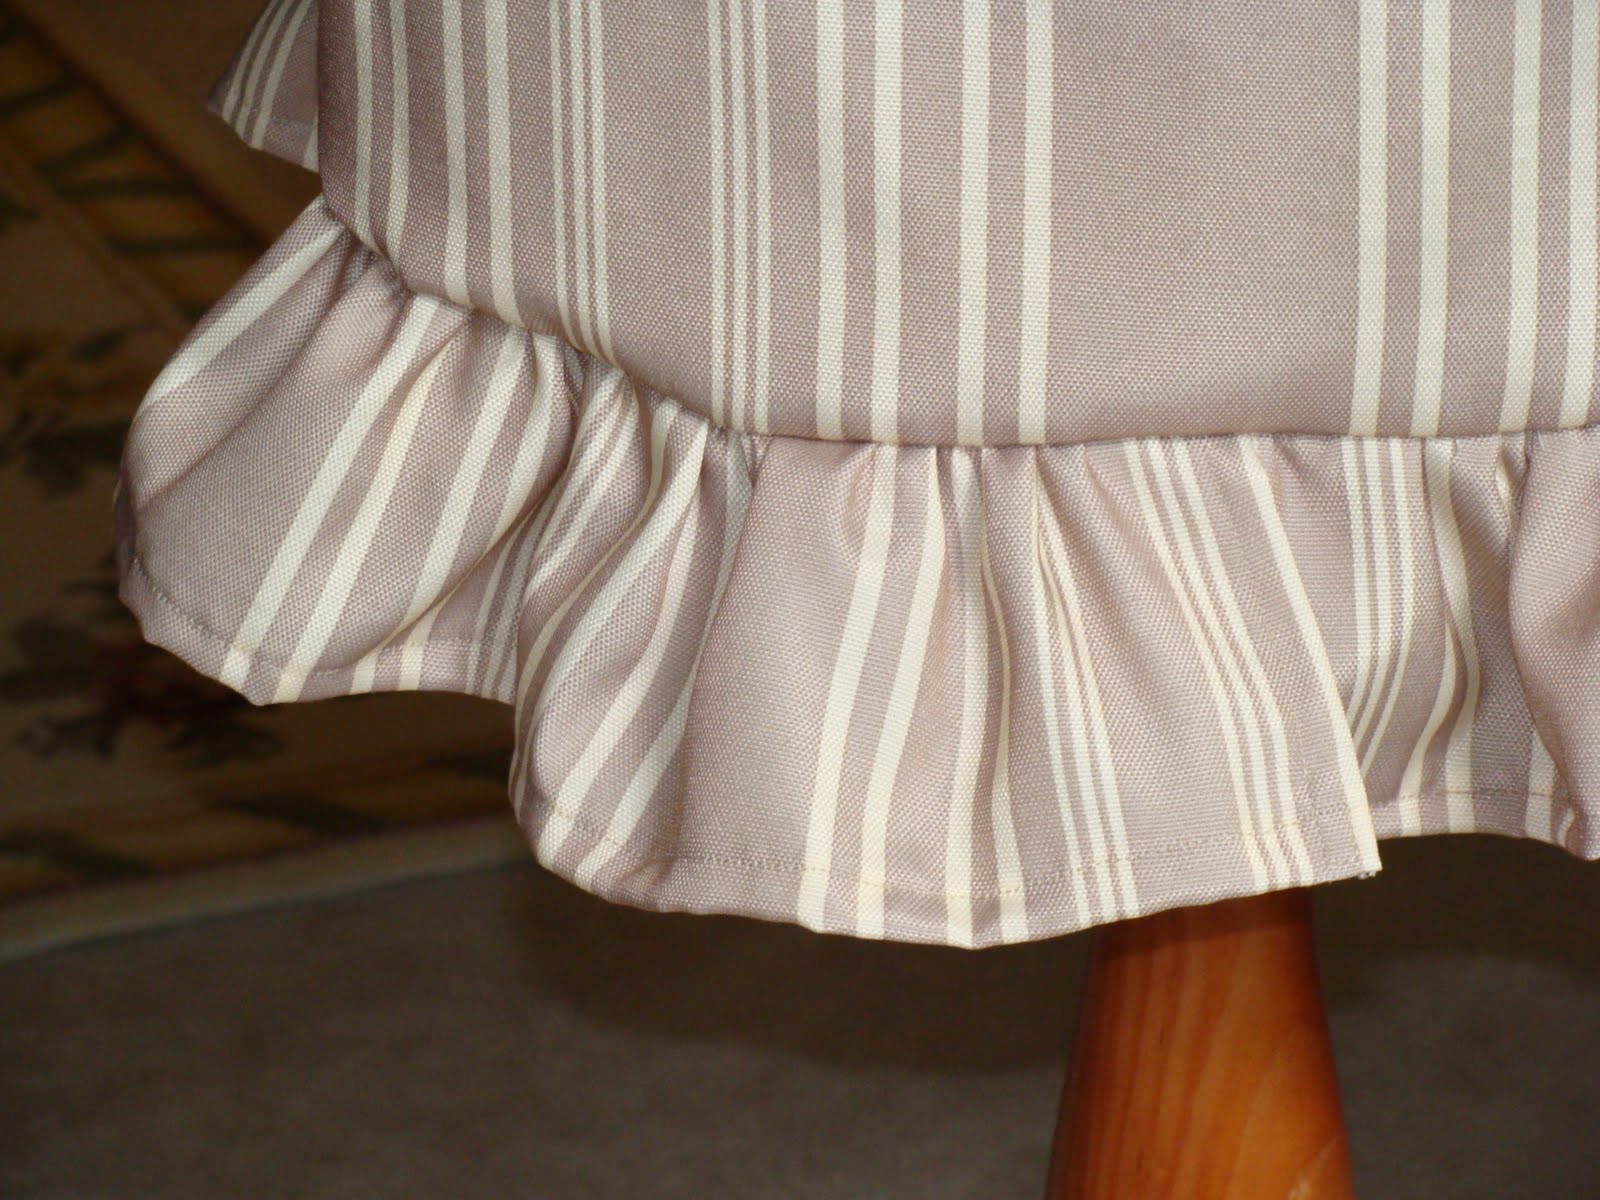
The ruffles layed nicely.

And there you have it.

I'm SURE there are apron tutorials and even patterns much easier to follow. That day I was flying by the seat of my pants. Up a creek without a pattern, one might say. But I like the end result and for a $2.00 polyester table cloth, it was good enough for me!

Linked to:

Creations by Kara
Blogging tips