Then end.
Well, okay, it's not really the end, but it really is simple!
Make your own Basic Shirt Pattern
Round Neck TopThis shirt pattern is the one I used to make my new cute blue and white polka dot summer top. I gave you a sneak peek on facebook, but will share more pictures and details this week!
Trace a Shirt
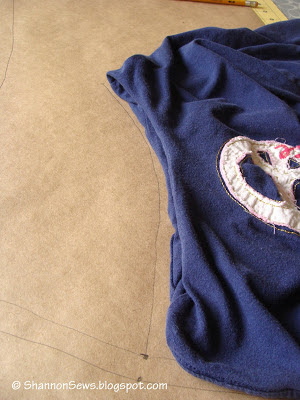
The first step in making your own basic dolman sleeve shirt pattern is to find a shirt to trace that you already like the fit of. *[for more info, see dolman sleeves versus in-set sleeves]Fold the shirt in half, shoulder seams together, and lay your shirt down on a piece of pattern paper. (I use craft paper)
Trace around your t-shirt with a pencil.
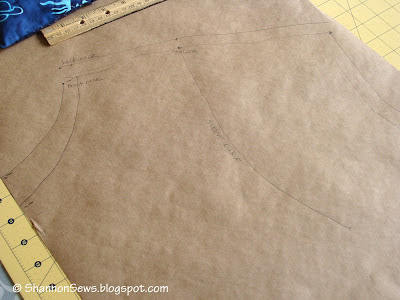
I made an "actual shirt line" and "with seam allowance line"
*I'm tracing a t-shirt, so keep in mind if you're using the pattern for a cotton shirt you'll need to add a little extra room to account for the difference in fabric and lack of stretch.
I won't be sewing an in-set sleeve this time around, but I decided to add a sleeve curve line on my pattern in case I ever wanted to. To do this, I tucked the sleeves inside and traced the curve.
Label & cut out the pattern
I traced the back neckline, eyeballed the front, and labeled everything (i.e. front fold, necklines, shoulder seam, where the sleeve ended, etc).
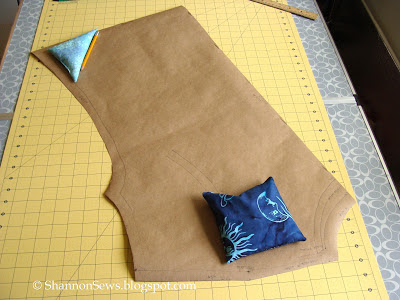
Cut out your pattern along the seam allowance line.
Use the new shirt pattern
Lay your shirt pattern down on your fabric. I held down the pattern with easy fabric weights I made, but you can also pin down your pattern.I laid my fabric in half and then turned it under in half so I would be cutting both pieces at once.
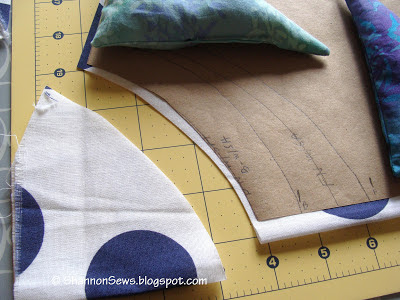
I used a rotary cutter to cut all around the pattern except for the neckline. I gave it a little extra fabric since I'm not using a knit or stretchy fabric.
When cutting the necklines, I generally start a little higher to give myself room to cut lower. The back neckline is higher than the front.
I removed the 2nd layer of fabric and cut each neckline individually.
New shirt
Here is the start of a cute top, based on my new pattern. You'll have two fabric pieces for front and back.
⇒ Check back later this week to see how this shirt is put together!
Never miss a post! Subscribe to ShannonSews
Like on facebook.com/SSorensenDesigns
Follow @ShannonSews1 on Twitter
Subscribe to youtube.com/ShannonSews


Lovely blog you have !
ReplyDeleteThanks for the visit and have a nice week.
Anna
Thanks so much for stopping by and for your sweet comment Anna!
DeleteWhat a great tutorial! I've been doing this for a while, but it's always good to have a step by step guide for reference. I'm pinning it to my sewing board! And I'm also your newest follower on GFC!
ReplyDeletewww.domesticblisssquared.com
Thanks so much for your nice comment! Sounds like I could learn a thing or two from you as well! :)
DeleteVery useful pattern to make a t-shirt, print is also nice, find the source : www.edenintl.com
ReplyDelete