Saturday, January 8, 2011

Basic fleece camera case and/or case liner

Sorry for the lack of posts. This past week has felt like an eternity. Has it for anyone else?? In my "off sewing hours" I work for an after-school program. It was a hard week back for the kids and honestly, for the staff. Vacations are wonderful but sometimes the reality re-entry is a little bumpier than expected.

Anywho, as I get back into the swing of things, I wanted to share a quick project with you. Got some extra fleece on hand? I love little projects that use up spare fabric. And yes, it's the same fleece I used to make my little pink fleece hat. Hey, sometimes you use whatever you have on hand, right??

A few weeks ago, as we were packing up to visit family for the holidays, I realized I didn't have a small case to keep my camera in.

My requirements were to be soft, thick enough to give cushion, and have a very basic design.

I'm sure there are camera case patterns out there, but I decided to wing it for a custom fit.


I laid out my camera on a piece of fleece and fit the fabric around the camera and strap.

Tucked it in all cozy
and cut off the excess fabric
I decided to cut a flap for the closure, so the piece ended up looking like this


I folded over the fleece, pinned the raw edges together and sewed a straight stitch all the way down the open side and bottom (leaving the flap open).


This is what it looked like after sewing it together, and turning it right side out. Looks cute enough to be a barbie sleeping bag.

For an easy velcro closure, I cut and secured two pieces of velcro with pins and sewed.


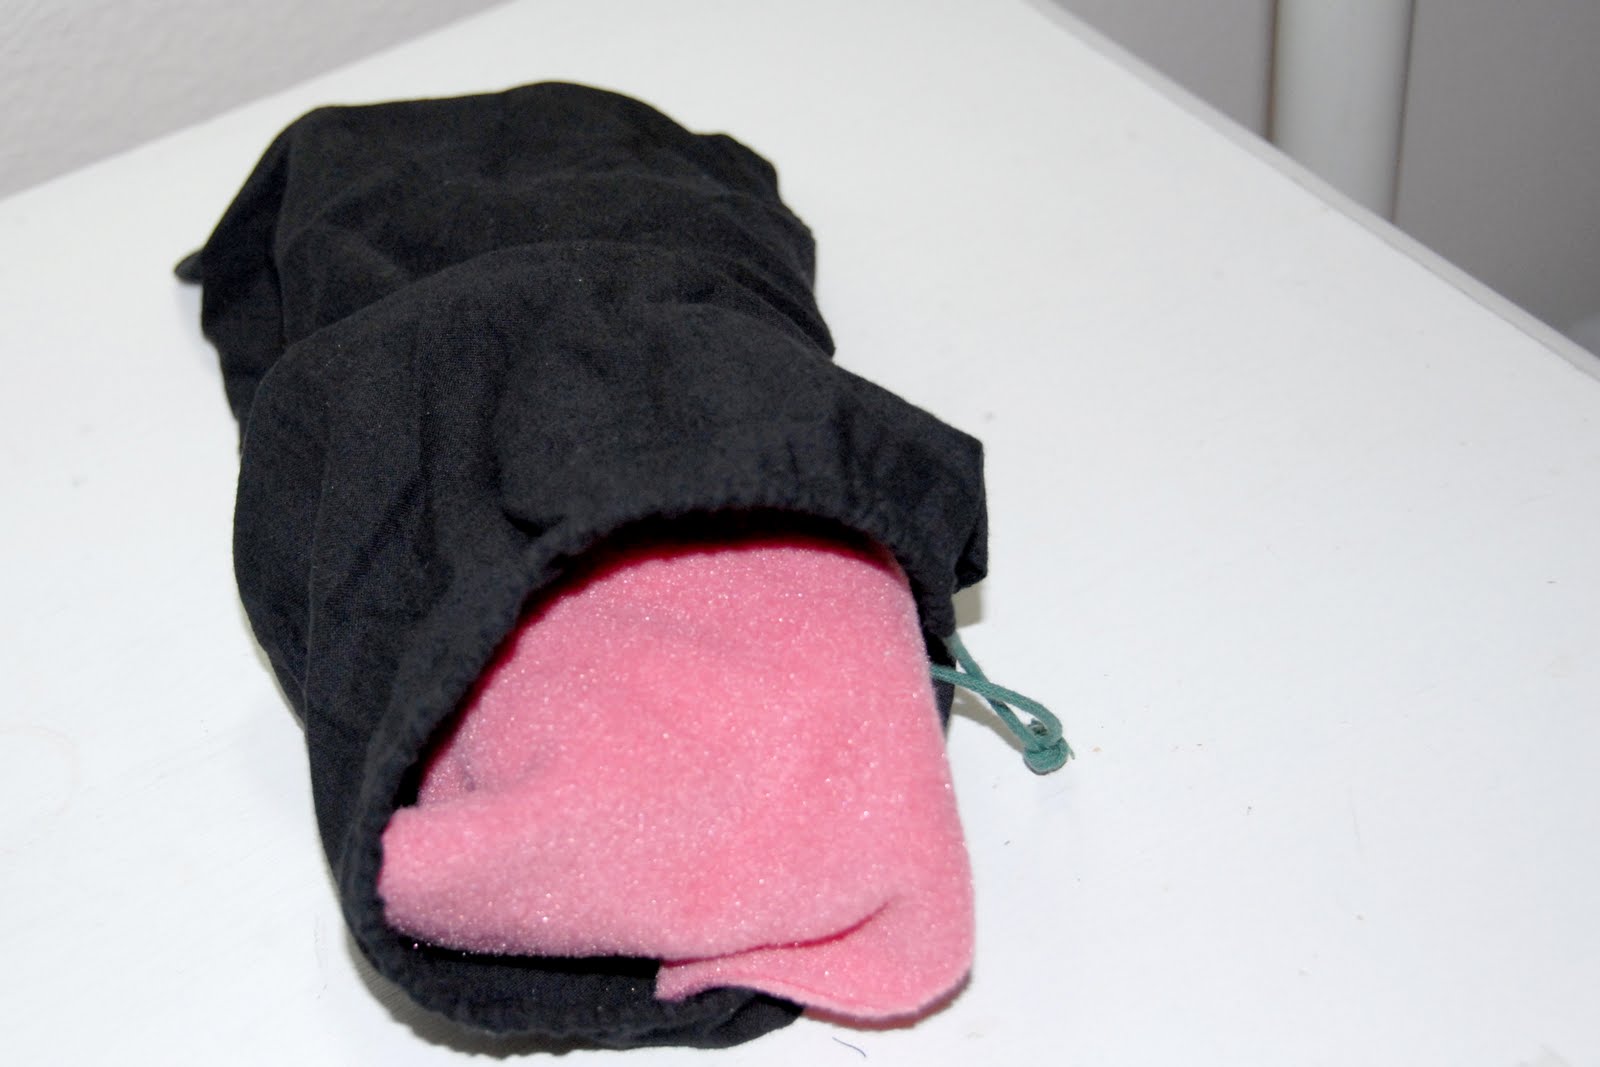
And here's the finished case, with my camera tucked securely inside.


Like I said, it's very, very basic and probably more like a liner than a case (since fleece can get wet). But it worked perfectly for me. With my camera in this protective case, I tucked it safely in my purse for easy access to some fabulous holiday picture taking!

Wednesday, January 5, 2011

New Etsy Shop: Shannon Sorensen Designs

Happy New Year!

I'm so excited about starting this New Year off right, with a new Etsy Shop: Shannon Sorensen Designs
I'm just at the starting point, but am very excited about what's to come!

If you have any tips for me about being a seller on Etsy, I'd love to hear.

I hope you all enjoyed your holidays and are back in full swing, feeling your best for 2011!

Thursday, December 30, 2010

Anthropologie apron refashion: from waist to full apron

I hope you are all enjoying this holiday season.
I can't believe the new year is just around the corner!

Yesterday my mom, sister and I went to the downtown Seattle Anthropologie. Their sale items are placed right as you walk in the door...how did they know it wouldn't take long for me to find something I couldn't live without??

I've been eying Anthropologie's ruffled aprons for-ever.

So lovely and feminine.

However, I'm am a grease magnet when I cook. I can't tell you how many times I've gotten a greasy spot or two on the front of my shirt that seems to have flown out of nowhere. And yes, it's because I was too lazy to open a drawer and put on an apron. Pathetic.

I decided that although this apron is absolutely beautiful just the way it is, it wouldn't be able to protect the few grease-less shirts I still have left.

So I decided to turn this waist apron to a full apron, by adding a top, and hoping at the same time to maintain it's delicate style.

Again, here is the before:


And here it is after my apron refashion:


I really like how it turned out. It kind of feels like it was always meant to be this way.

I found some flowered cotton material in my stash that worked for the top, and used natural muslin for the neck strap.

Here are a few tips on how I refashioned a waist apron to a full apron:

The piece of flowered fabric I had was only about 7" wide and about 23" long


In order to have enough material to extend the top width, I had to cut the 23" long piece in half long-ways and then in half vertically to add two panels to the front.

Here I have each piece pinned right sides together to the main front piece. Most people would already have it wide enough to start with. Measure across your chest to see how wide you want the front piece.

After sewing the side panels to the main front panel:
I hemmed all sides and top, then ironed down seams to lay flat.
I attached the top to the waist of the apron by sewing it wrong sides together and stitching along the bottom hem line of the waist (with cream colored thread to match the apron waist).


When finished, I flipped up the front and top stitched across the front of the waist to secure it. (sorry no photo)

For the neck piece, I cut about a 4" wide x 22" long piece of natural muslin, folded it in half and straight stitched.


Ironed the seams down
Turned it right side out and top stitched about 1/4" in to secure.
I should have left about 1/2" on each edge to turn under, but I forgot and didn't want to take the top stitching and original stitching out, so I opted for a zig zag stitch on the ends (since they wouldn't be showing anyway).
I stitched the neck strap ends to the back side of the top by top stitching on the front of the apron, in a rectangle shape to secure all four sides (switching back to light blue thread)

I'm so excited to wear it! But I guess that means I have to cook... :)


Linking to:

TrulyLovely
SomewhatSimple
TeaRoseHome
TheShabbyChicCottage
BlueCricketDesign
SewMuchAdo
HopeStudios
PaisleyPassions
AGirlInParadise

Thursday, December 23, 2010

Happy Holidays!

I'm stepping away for a little while to celebrate the holidays. And although I would be content sewing every single day of the week, spending time with family and friends at this time of year is at the top of my list.

At the coming of the new year, I have a few projects already lined up:

Make more of these delicately soft washcloths


A ruffly apron out of this colorful Anthropologie tablecloth

A set of pillows made from these lovely Anthropologie towels

A set of baby soft bibs and burp cloths for a friend welcoming a little pink bundle into the world


And creating another how to make a small shirt bigger tutorial (in much better detail)

So long for now.

Wishing you and your family a wonderful holiday season
and prosperous New Year!


Blogging tips