

I posted a while back about sewing with a hemmer foot to make this lovely pink frosting-like pillow case back in August.

But I have to admit, since that time I've gotten even better at using a hemmer foot and found a few tricks that help make practically perfect seams every time. I know, there I go bragging again. Bear with me.
I found some great tips on this video. I'm so much better at learning something when I can watch it and practice it. I watched another video and gleaned some goodness off of hers too, but for the life of me I can't find it again. Sorry nice lady!
Three of the best tips I found
for using a hemmer foot for a rolled hem-
#1. SLOW AND STEADY (take a chill and slow it down)
#2. Fold over material and finger-press to create a starter seam
#3. Help your hemmer foot do the work by continuing to fold over your seam & hold fabric taut
Okay, lets put these tips to work:
- I folded over and created a start to the seam the same width as the groove in the hemmer foot (I used a 4mm). This is cotton fabric, so pressing the seam down with my finger held it well.

- I folded it over again and finger-pressed it. This became the start to the seam.

- I put this seam directly under the hemmer foot and stitched a few stitches to secure it

- Next, I pulled the fabric up and in the hold of the hemmer foot.


- I continued to fold over the material as it feed through, while holding it taut (slightly-tight but not too tight). It helped guide the material through the foot neatly.

- Here's me in action. Keeping the continuous fold, while guiding the material and holding it taut. (You have no idea how tricky it was to get this shot. What I won't do for my blog.)

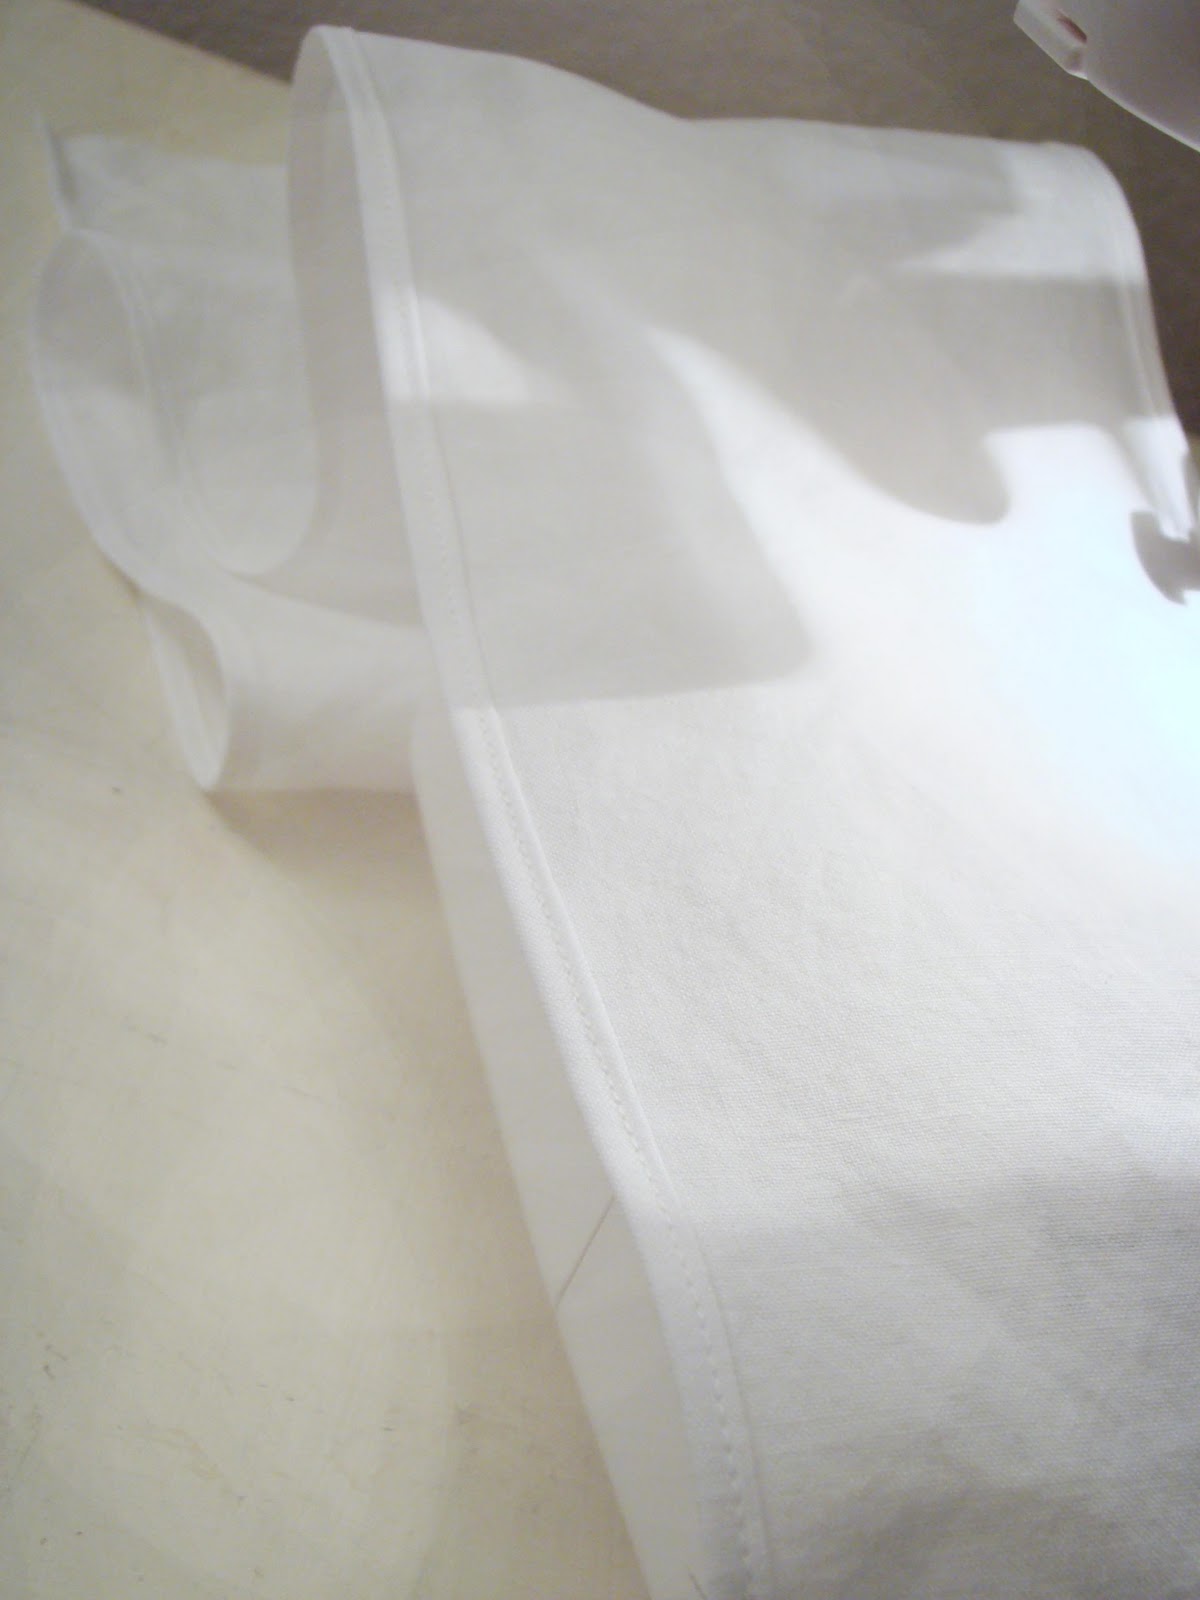
- Check out the left seam. Straight, straight, straight!

- So precise. And practically perfect. What'd I tell ya?
- Gotta love this technique!

It made sewing these ruffles so much easier.


Don't do it the hard way, give those sewing feet a try!
Never miss a post! Subscribe to ShannonSews
Like on facebook.com/SSorensenDesigns
Follow @ShannonSews1 on Twitter
Subscribe to youtube.com/ShannonSews
Thank you! I recently bought myself a rolled hem foot and spent a bit of time fighting with it :) Time to try again!
ReplyDeleteThanks for the tips. I have used the foot but never been satisfied with the results. I like your tip about the first few stitches on top. I will try that!
ReplyDeleteseems a little less scary now - hmmm I don't have a hemmer foot (yet) but will keep this in my 'when I'm ready to try' file! thanks for sharing!
ReplyDeletewww.northerncottage.blogspot.com
thank you soooooooooooo muuuuuuuuch! I used my grandma's sewing machine and I didnt know the use of that pressed foot. You make my day because I do a lot of handcrafts :) lol
ReplyDeleteThank you for great advise!:)))
ReplyDeleteI appreciate you stopping by! Glad I could help! :)
DeleteThat's beautiful I got that foot in my sewing machine box ,didn't even know what it was so thanks for showing have loads other feet tat came with it as well need to find out what they for!!! X
ReplyDelete